Windscreen Wipers and Motor
| Model Application | Manufacturer No. | Lancia Part Number | |
|---|---|---|---|
| A | B10S 1001 to 1288; B21S from 1001 to 1285 | SWF ESW 890 | B10S-90103 Tipo Bowden 12V |
| B | B10 from 2133 to 3355 B50 from 1310; B51 from 1055; B21 to 1038 B20 1001 to??? | SWF ESW 420 | B10-90103A Tipo Bowden 12V, fitted as replacement to earlier cars. |
| C | B10 from 3356 to 5502; B21 from 1039 to 3641; B15 to 1024; B22 to 1019 B20 from??? to 1848 | SWF ESW 240 | B10 90103B Tipo Bowden 12V |
| D | B10 from 5503; B10S from 1289; B21 from 3642; B21S from 1286; B15 from 1025; B22 from 1020; B52 from 1062; B53 from 1074 B20 from 1849 to??? | SWF BSW | B10 –90103C |
| E | B12 to 1668; B20 to 3350 | SWF SWA 1805 R | 2128614 |
| F | B12 from 1669; B12S from 1001 B20 from 3351 to 3816; B20S from 1001 to 1435 B24 from 1001?; B24S from 1001 to 1332 | SWF SWA 1805 L | 2136708 |
| G | B20 from 3817; B20S from 1436 | SWF SWA 1805b | 2134502 |
| H | B24S from 1333 | SWF SWA 1805b | 2134602 Whether these above two are different significantly I don’t know |
SWF’s address was: alla S.I.C. Via Carlo Ravizza, 16, Milano
Motors G and H in the above table had more complex wiring. Instead of two terminals, there are four:
31. Earth
54. To wiper switch & Fuse 9
51b. To wiper switch
54d. To wiper switch
A near equivalent was used in the VW Beetle, but it is now possible to overhaul the original motors & gears.
Wiper Motor Removal (contributed by John Savage & Andy Tait)
There is no easy way to do this as far as I know. Disconnect the rev. counter cable from the rear of the instrument, the oil pipe from the oil pressure gauge, wiring from any inset instruments, and remove the rev. counter.
The motor in its housing on the bulkhead, fixed with 3 screws is now visible. Gaining access through rev. counter hole, a screwdriver at least 15 inches long is needed to undo the 2 right-hand screws. The left-hand screw can just be reached from under the dashboard.
Label the wiring leads and remove the operating rod from the crank.
A lot of ‘play’ or ‘lost motion’ results from wear in the gearboxes which drive the wiper arms especially in those made of magnesium alloy and fibre, which can strip their teeth easily. Replacement gear wheels are available. Two wheels are required for each of the two gearboxes.
Some cars have been modified to use a Lucas wiper motor with cable drive. The motor can be mounted under the bonnet or in available spaces under the dashboard. However, nowadays overhaul of the original components is preferred.The space between the wiper spindles is 17 inches
Wiper blades and Washer System
Replacement items are still available from manufacturers such as Trico. The washer vacuum pump (also used on Flavias) had a part number A80017. The parts originally supplied for the B12 were made by Carello.
Early cars (Series I independent rear suspension by coils) were not supplied with a windscreen washer system.
It was introduced on the B12, using the low pressure from the inlet manifold, & operated by a push-button on the dashboard.Of course many owners have replaced the vacuum system with an electrical one.

Tav.71-SII – B12 Carello System from the Series II Parts Catalogue.
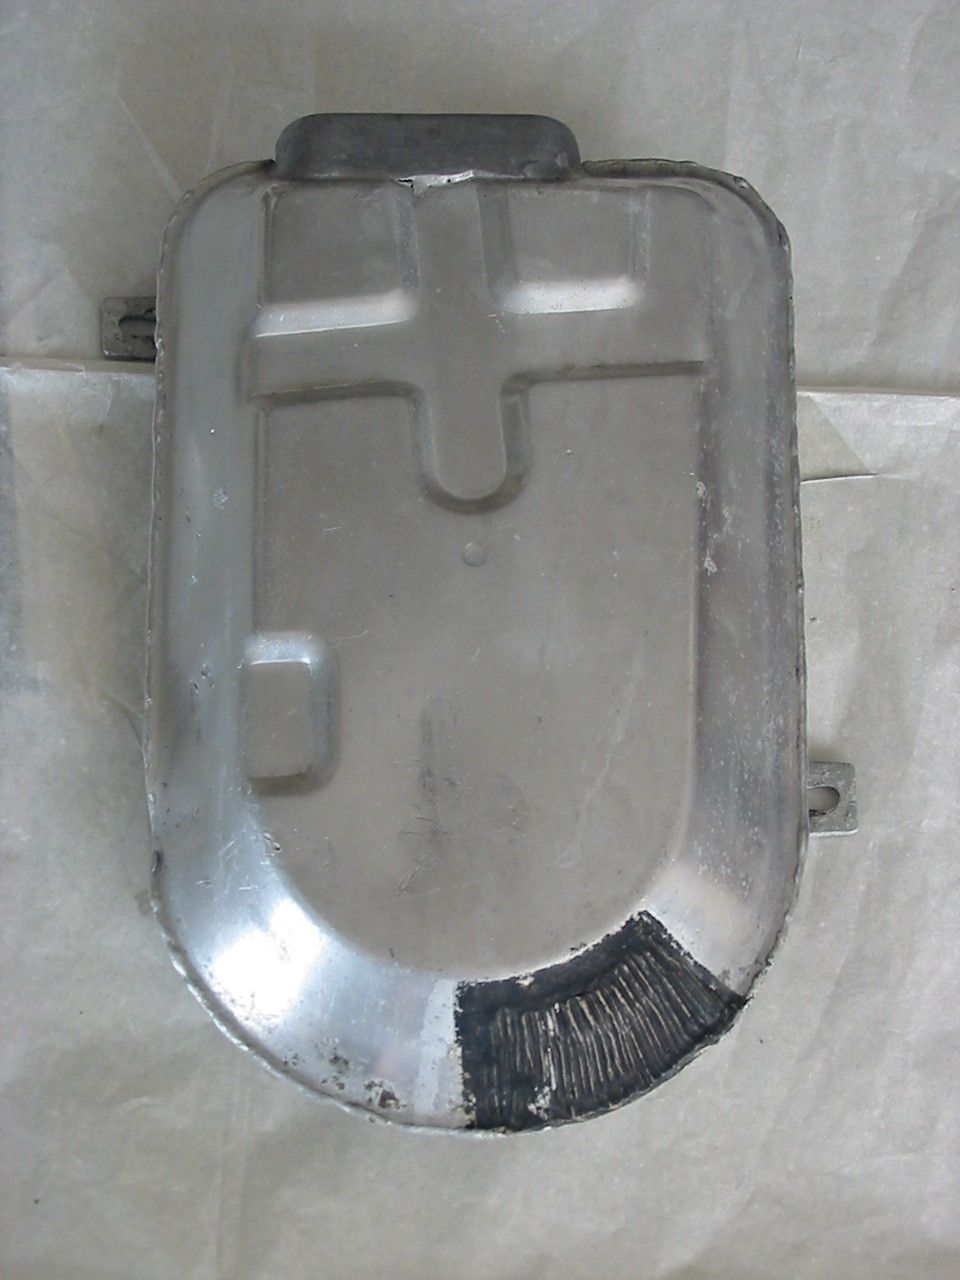
#1 is the control button on the dashboard. This system was continued on to the 4th& later Series B20, but the reservoir #13 was changed, as can be seen in the photos below.
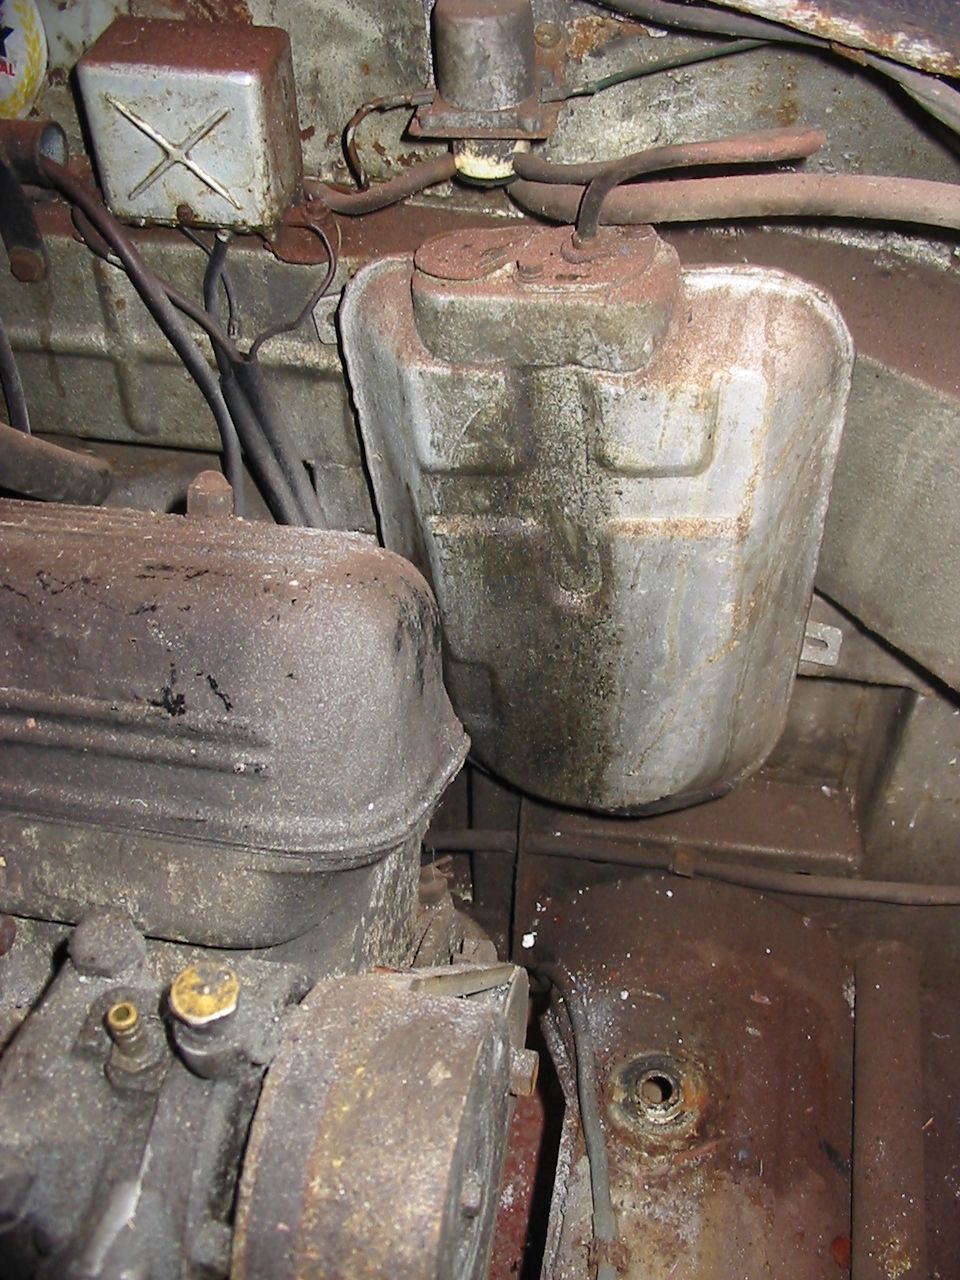
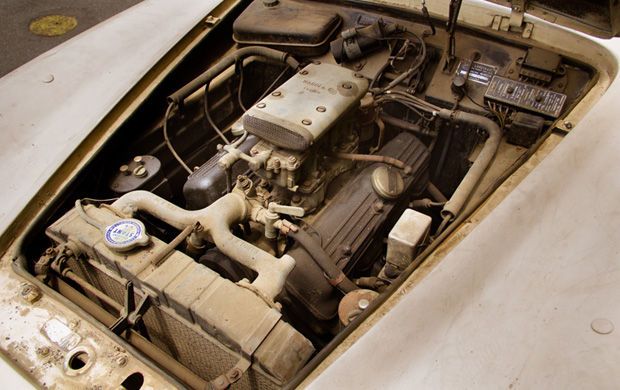
In position in B20-3609 prior to restoration, with electric washer pump.
From B20-3609 – Late 4th Series showing top of reservoir #13, plate #3 & mounting bolt #21 [M5 x 0.8 mm with 8 mm head] & washers #7 & 8.
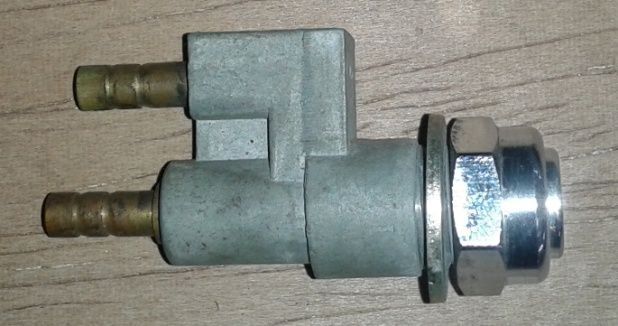
Then a brass collar, rigid copper tube & flexible tube, an adaptation for use with an electric washer pump – missing is the open rubber grommet to hold this assembly in plate #3. On right is an unused Trico washer vacuum unit of the type used originally #4, but without original labels. This was I believed used on early Flavias.
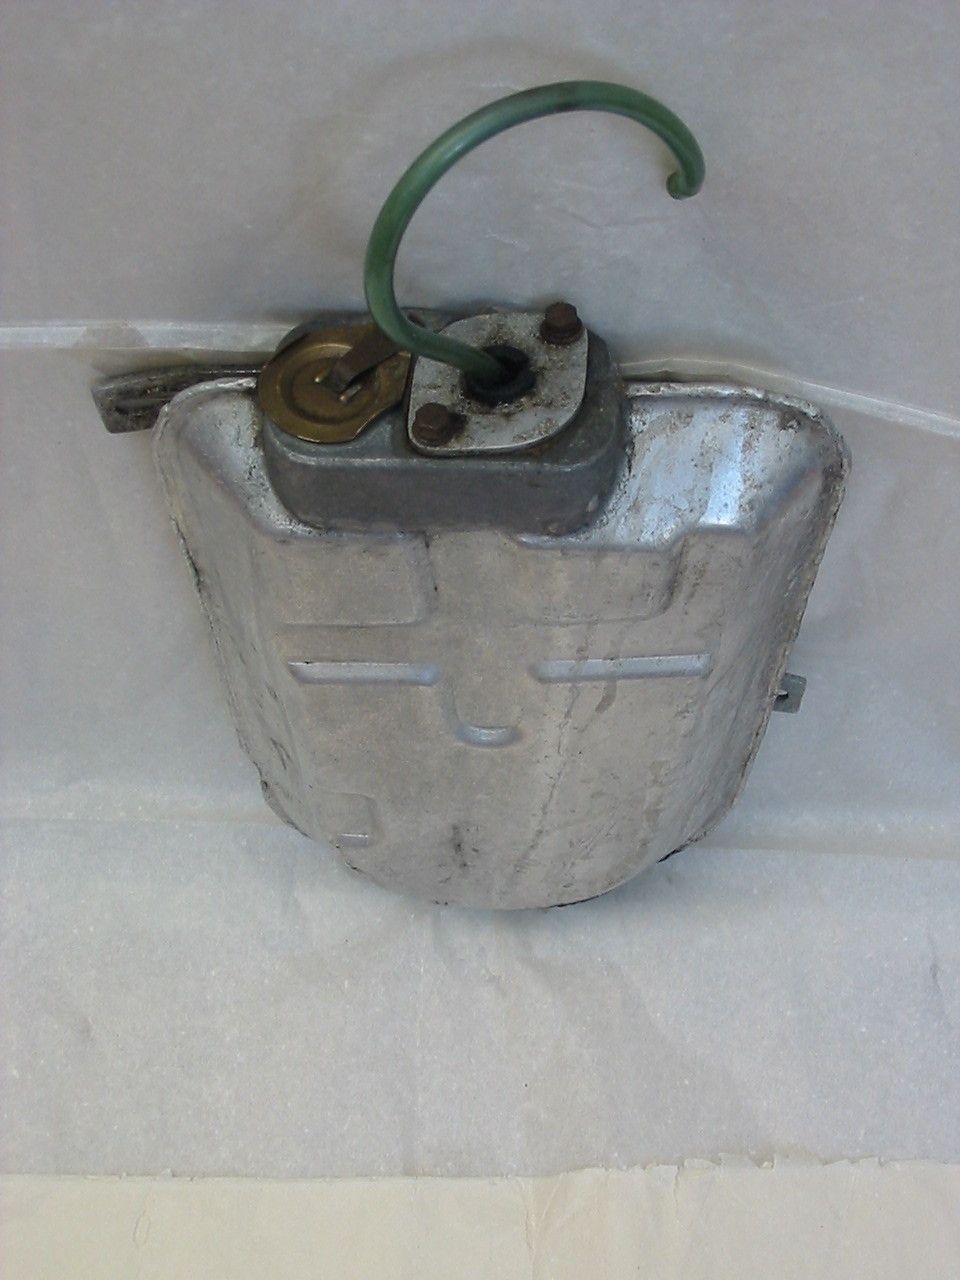
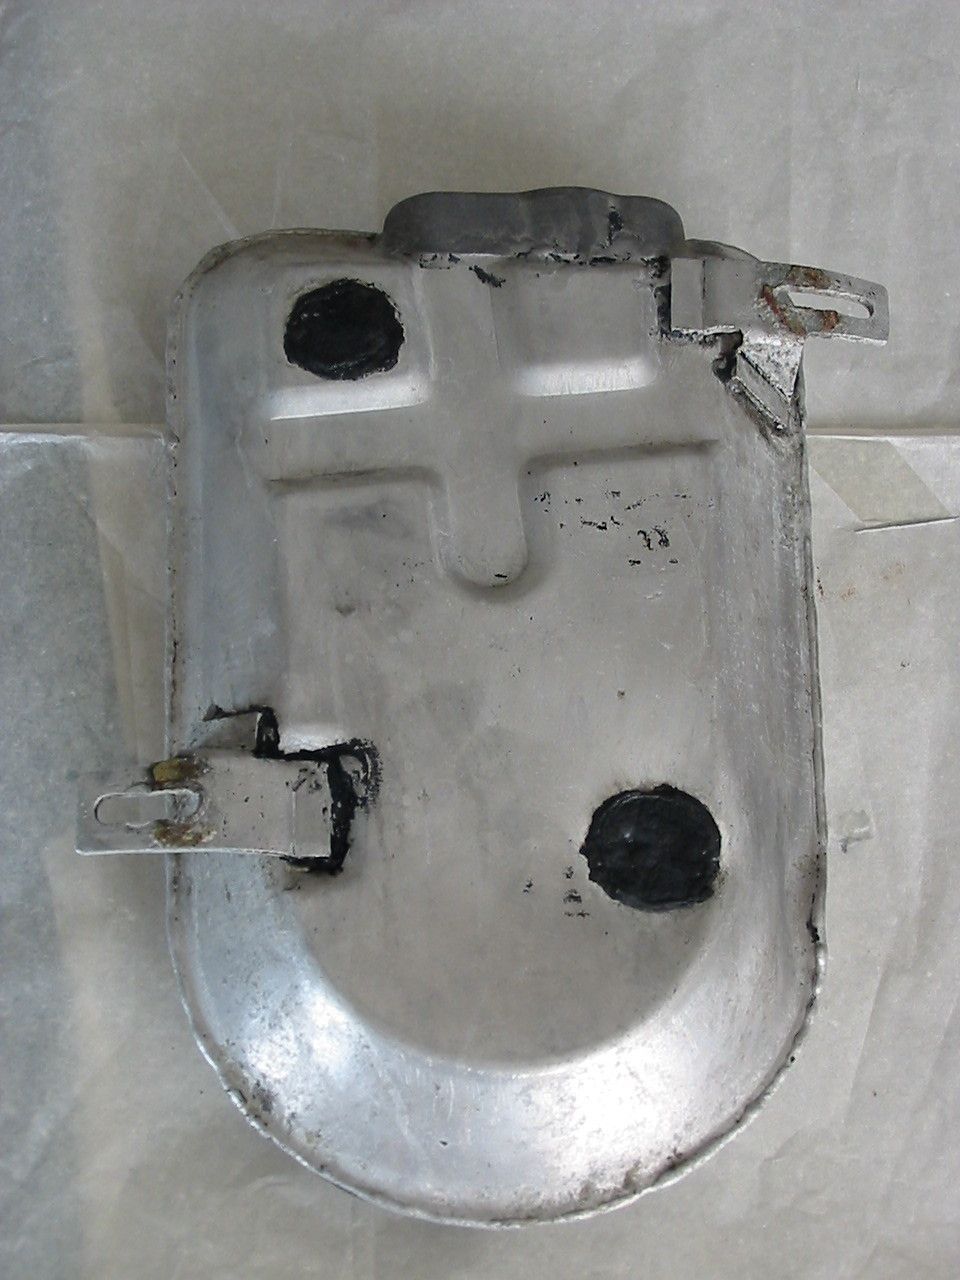
Washer fluid reservoir in aluminium, assembled for use with an electric washer, front & back. Note rubber paddings to suppress vibration & surface wear.
B24/B24S Spiders were not fitted with a windscreen washer. B24S Convertibles (From B24S-1182) were fitted with a new washer system made by Fispa but still controlled as before.
The reservoir can be seen at top left, in black here on B24S-1236
The same item on the “barn find” B24S-1297 in unrestored state.
Restoration of Trico Vacuum Washer Pump by Tim Heath
The following was written in 2019 by a member of the UK Lancia Motor Club.
This may be of interest to Aurelia, Flaminia, and Flavia owners wishing to preserve the originality of their cars.
The pump (as fitted to Aurelia B12 in this case) works by using the vacuum from the inlet manifold (similarly to a way the brake booster works), and when activated by a vacuum switch on the dash board raises a diaphragm in the housing against a strong spring drawing up washer fluid (water) into the bottom chamber and when the vacuum is released the diaphragm collapses forcing the water to the windscreen washer jets.
There is a one-way valve to stop the water returning to the washer fluid container.
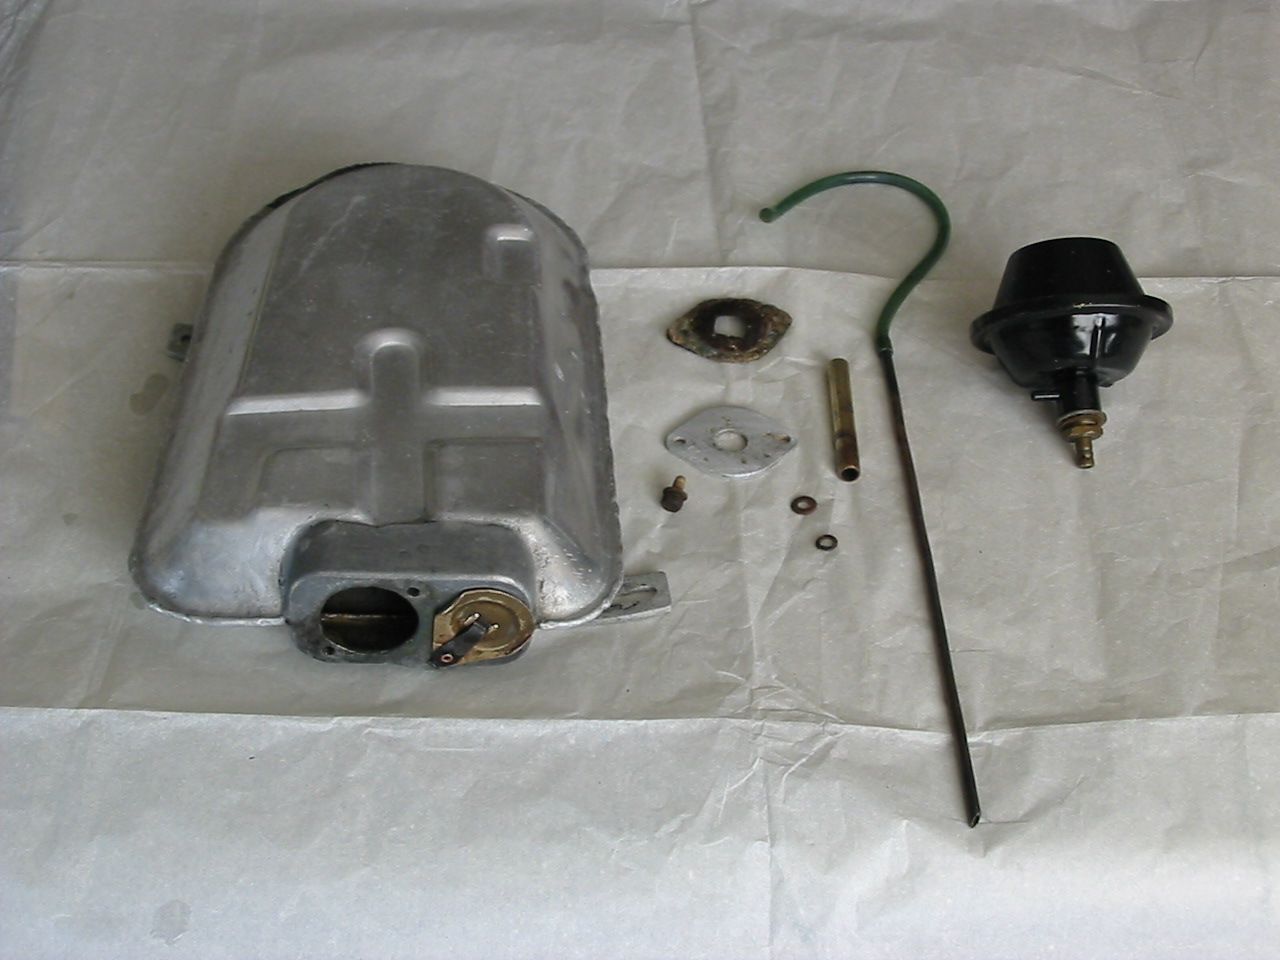
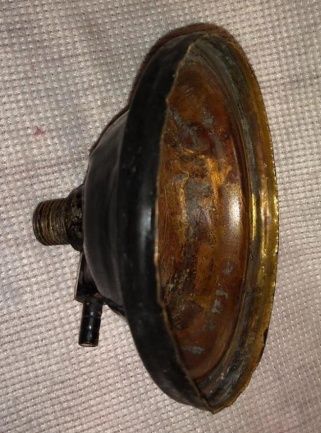
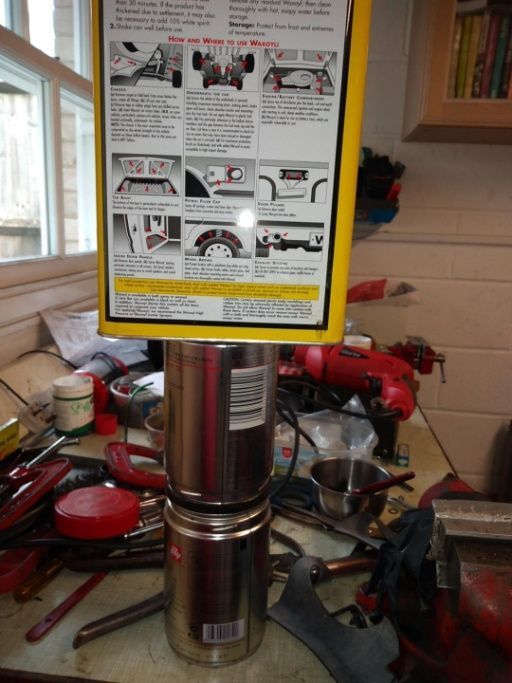
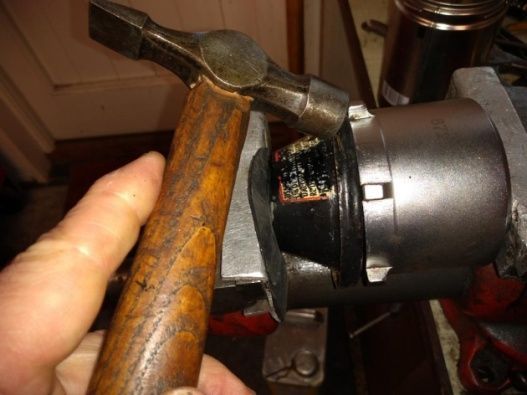
So with the pump off the container (easier to remove the tank and pump to get to the pump retaining screws), and then stripped of its brass feed pipe, mount the pump threaded base in some soft jaws in a vice to protect the thread carefully un peen the lower brass cup from the cast alloy top. This is what you should find:
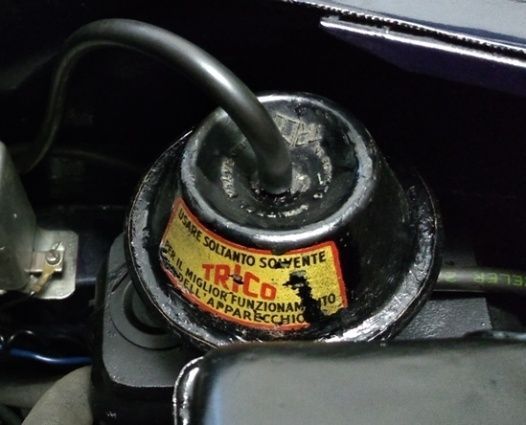
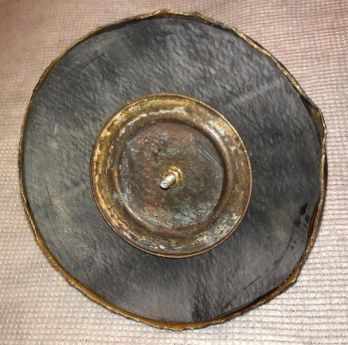
Trico vacuum unit
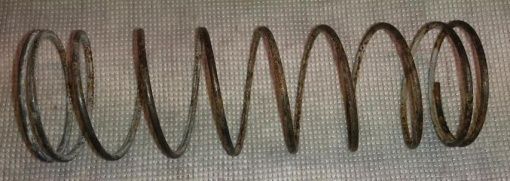
Spring
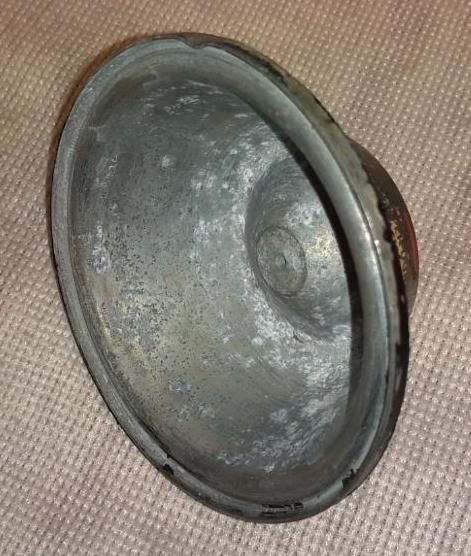
Lower brass housing "unpeened"
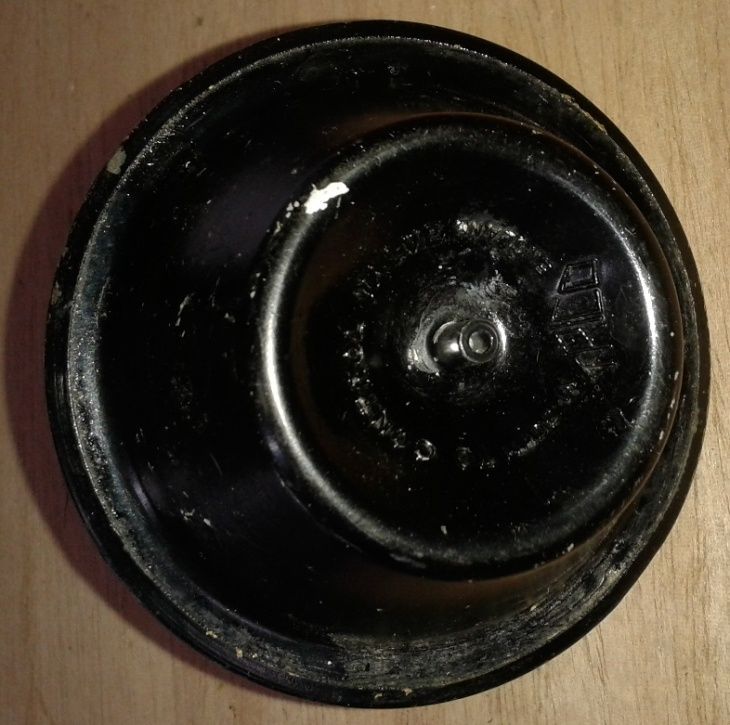
Alloy top of Trico unit
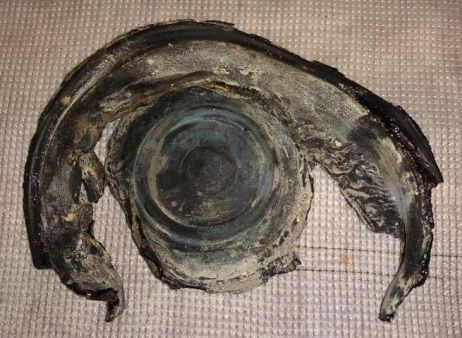
Remains of diaphragm
Lower housing with replacement rubber glued in
Coffee tins
Re-peening the brass housing
There is also a brass spring cup washer and a disk of indeterminate material clipped on the underside of the diaphragm.
I did an extensive search to see if there were any diaphragms on the market that could replace the non-working (!) one I had. I was about to give up but for a chance conversation with Bob Barry who suggested making one out of an inner tube.
This is what I did, Get a good flexible inner tube and cut it slightly a few mm oversize of the outer circumference of the brass housing. To retain the spring cup and underside disk I used a stainless M3 small head bolt nut and plain washer. Clean any crud from the bottom brass chamber and check the one way valve in its base is working. Apply superglue to the outer rim of the brass housing and fit the replacement inner tube diaphragm and compress it onto the brass base. (I found Illy coffee tins exactly perfect for this job!)
After the glue has set trim any surplus inner tube rubber from the edge of the brass housing so the alloy top fits well onto the rubber. Compress the two halves together (not forgetting the big spring in the upper chamber) and with a suitable support to the brass base gently peen over the brass to seal the upper chamber.
Paint as necessary, refit the brass feed pipe to the unit, and mount onto the tank.
If the pump does not deliver any water with the engine running and a few prods of the vacuum switch (assumed to be working), you may find the very fine jet holes of the washers are clogged.
The following are photos & notes are from Paul Mayo. See Tav. 71 above for the pipe connections.
Top of an unused Trico vacuum unit
Trico dashboard washer control button
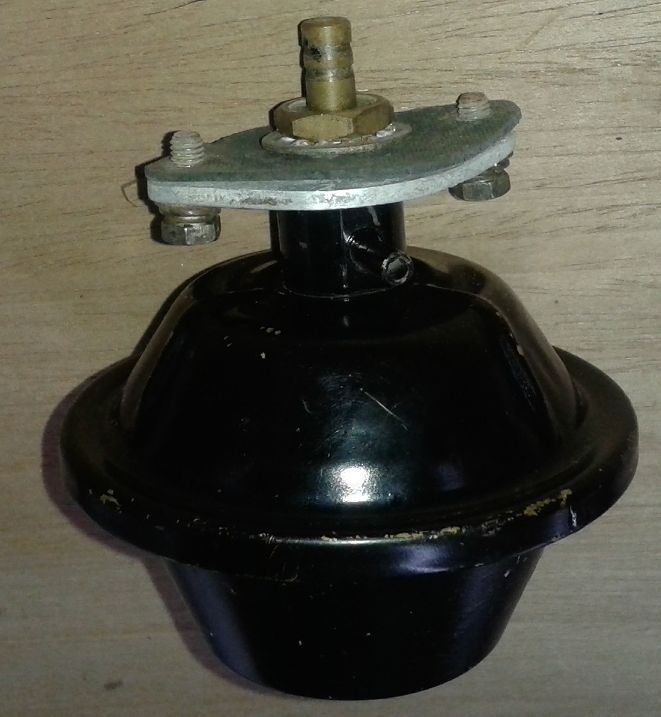
Trico unit mounted onto reservoir plate with bolts & rubber seal.
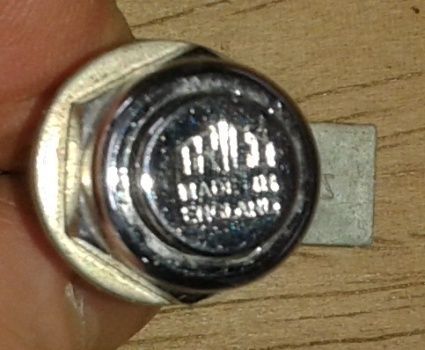
Top of Trico button